

You’ve brought enough Timberwood home for the front of your hall, and the rest of the build still needs beams. Before you sail north again, check the cones you brought back. With a Cultivator and an open patch of Meadows, you can start growing Timberwood a short walk from your workshop.
The first trip is still to the Deep North. Fell the snowy firs for Timberwood Cones, then plant a couple near home and save the rest. A small test plot lets you check the ground and see how much room the trees take up before you commit to a whole grove.
What Changed For Timberwood In Valheim 1.0.21
The October 28 update changed how you gather Timberwood and its cones. Iron Gate adjusted wild drops toward more Timberwood and fewer cones, and the cones can grow into much larger trees in suitable biomes. If you’re returning to an older shared world, update your Valheim server and check that the game is running 1.0.21 or later before you plan the trip.
Treat the cones and the wood as separate supplies. Timberwood can go straight into a build, while the cones are what let you grow your next batch. If you’re short on time in the Deep North, make getting a few cones the first job and fill the rest of your inventory with wood once you have them.
Where To Find Your First Timberwood Cones
Head for stands of tall, snow-covered firs in the Deep North. If it’s your first time sailing up there, prepare for the Deep North before you go. Bring an axe, food and enough free inventory space to bring home both the cones and the wood. Mark a stand on the map if it’s near a landing spot you can use again.

A Stone Axe can cut the Timber Tree, though a stronger axe saves swings if you’re gathering a full load. Repair it before you sail. If the stand is on a slope, stand uphill or to the side once the trunk starts to fall.
Check the ground as soon as a snowy fir comes down. The cone drops come from felling the tree. The half logs are where you collect the wood, so pick up the drops around the fallen trunk before you move on to splitting it. Look for Timberwood Cone on the item label. A regular Fir Cone grows a different tree.
Where To Plant Timberwood Near Your Base
Choose A Clearing With Room To Fell Trees
Start with a level, open patch in the Meadows. The documented planting biomes also include the Black Forest, Mountains, and Plains. If your base straddles a biome boundary, check the biome name on the minimap while standing on the spot where you’ll plant. Leave enough room for a mature trunk to fall clear of your roof, fences, and crop beds.
Give yourself a route from the trees to storage. If you’re planning paths and storage for your Valheim village, put the grove on the outside of the settlement and leave a lane wide enough to turn a loaded cart. A little extra room here makes each harvest easier and gives you space to add another row later.
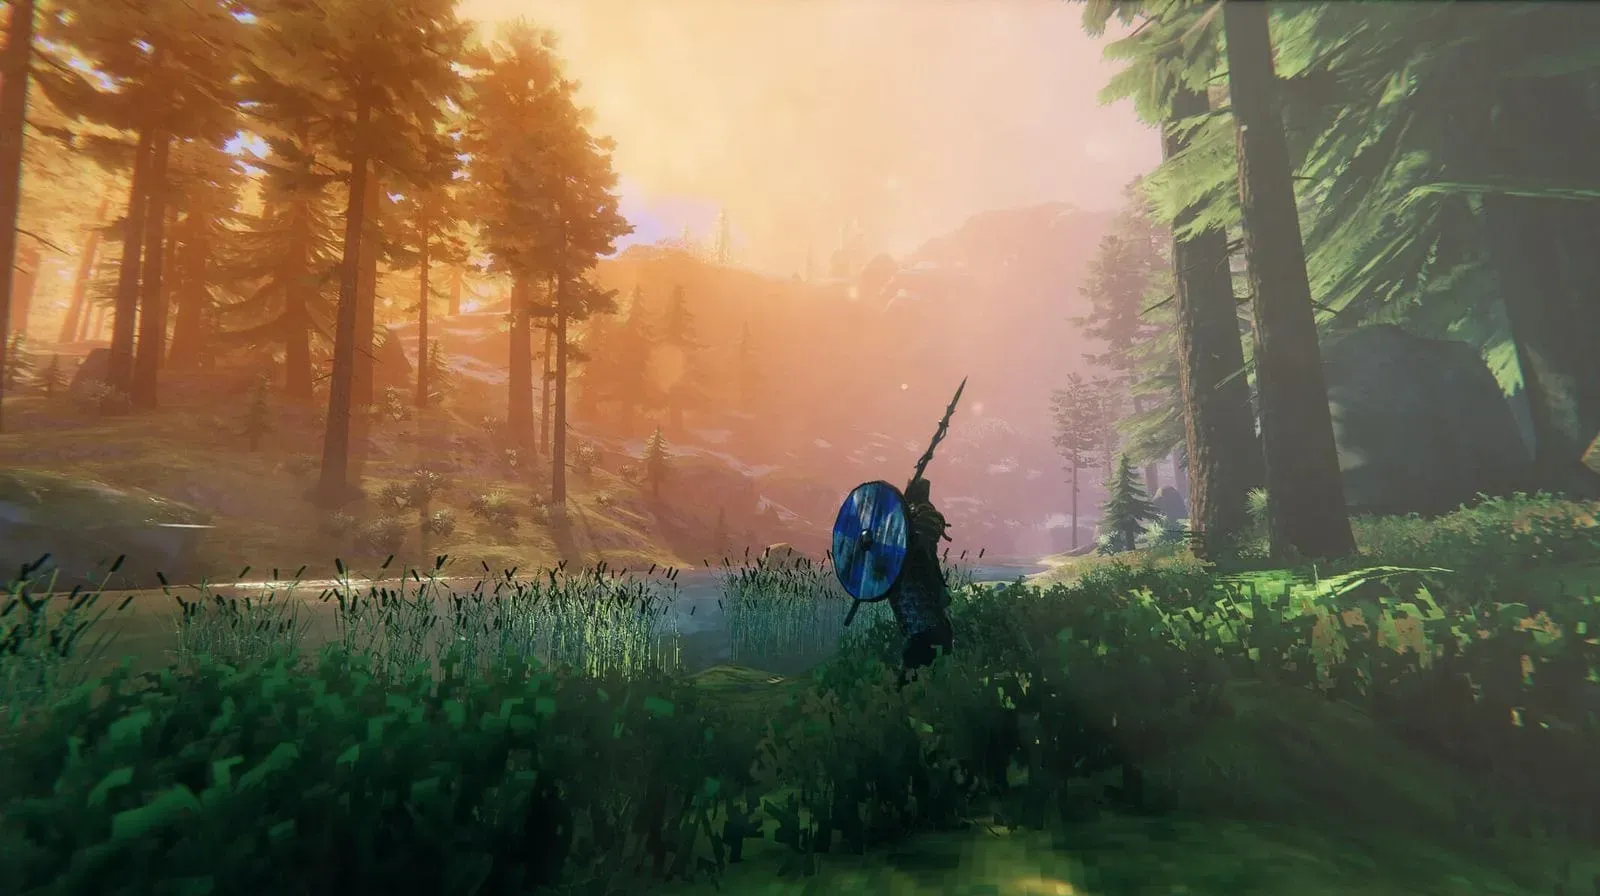
Plant A Small Test Row
If you need to make a Cultivator, craft one at a Forge with five Bronze and five Core Wood. Take it out to the clearing while you’re marking the plot. That way you can test whether the spot works before you spend an evening levelling a field.
Equip the Cultivator, open its planting menu, and select Timberwood Sapling. Each planting uses one Timberwood Cone. Place the first couple of saplings directly on open ground. You can leave the soil as it is. Space the saplings well apart and clear nearby stumps, rocks, or other obstacles before you plant the next row.
Hover over a sapling after planting and check its growth status. If it needs more room, clear the immediate area or try the next cone in a more open spot. If the biome is the problem, try your next cone in a confirmed patch of Meadows. Let those first trees mature before you plant the rest of your cones.
Check the saplings on your next trip back from mining or building. A healthy sapling needs time to grow. If one in a row keeps lagging while the others mature, check its immediate surroundings again. The stump you left from clearing the plot is worth a second look.
When To Harvest And How Many Cones To Keep
Wait until the saplings have turned into full-sized trees. Start with the outside tree so you have a clear place for the trunk to fall, then break it into logs and split the halves for Timberwood. Pick up any cones you get and count them separately. A good wood haul tells you how much you can build today. Your cone count tells you how much you can replant.

If you come home with six cones, try planting two and storing four. See how the first pair grows and what it gives back before you expand. If you’re about to clear a larger plot beside an established build, back up your Valheim world before you start moving fences and paths. That gives you a restore point if you remove something by mistake or decide you liked the old layout better. Once the grove is established, harvest one row at a time.
When two people are harvesting, have one fell the next tree while the other works on logs away from the fall path. The cart can wait at the end of the row, where a falling trunk is less likely to land across your way out.
Grow A Shared Timberwood Supply With Pine Hosting
With our Valheim server hosting, your group can use the same world even when the person who planted the first trees is offline. Have one player bring back the cones while someone at base clears the test plot and sets aside a chest for seed stock. Once the trees mature, you can take the wood for the next build and leave enough cones for the next planting.
With the Pine Panel, you can change your Valheim server settings in a few clicks and get back to building.
When your group wants to try something new, use the Pine Panel’s Mod Installer to add individual Valheim mods or the Modpack Installer to install a full pack in one go. Easy Config lets you tweak server settings from the same panel. If a mod won’t load or you get stuck during setup, our support team is here 24/7.